Introduction: Experiencing flickering lights in your Hunter ceiling fan can be frustrating, especially when it interrupts the ambiance of your room. Whether it’s a subtle flicker or a constant flickering, the issue can be both annoying and confusing. Fortunately, there are several potential causes for flickering lights, and many of them are easy to fix with a little troubleshooting.

In this guide, we’ll dive into the possible reasons why your Hunter ceiling fan lights might be flickering and walk you through simple steps to resolve the issue. Whether it’s a problem with the light bulbs, electrical connections, or the fan’s wiring, we’ll help you get your ceiling fan working smoothly again.
Possible Causes of Flickering Lights in Your Hunter Ceiling Fan
1. Faulty or Loose Bulb Connection: One of the most common causes of flickering lights in a ceiling fan is a loose or faulty connection between the bulb and the socket. Over time, the bulb may become loose or the connection might deteriorate, causing the light to flicker intermittently.
2. Bulb Type and Compatibility: If you’re using a bulb that’s not compatible with your fan or if you’re using an LED bulb in a fan designed for incandescent bulbs, you may encounter flickering lights. Some ceiling fans have specific requirements for the type of bulb they can support, and incompatible bulbs can cause problems.
3. Power Supply Issues: Flickering lights could be a sign of an issue with the power supply to the fan. If there are fluctuations in the electrical current or if there’s a problem with the wiring, it can cause the lights to flicker.
4. Fan Light Kit Wiring Problems: Another potential culprit could be faulty wiring or a loose connection in the fan’s light kit. Over time, the connections that power the lights may become loose or damaged, leading to flickering or intermittent light operation.
5. Dimmer Switch Interference: If your ceiling fan light is connected to a dimmer switch, this can sometimes cause the light to flicker. Many ceiling fans, especially newer models with energy-efficient bulbs, don’t work well with dimmer switches and may flicker as a result.
Step-by-Step Guide to Fixing Flickering Lights in Hunter Ceiling Fans
Step 1: Turn Off Power and Inspect the Light Bulbs
Why: Before starting any work, always turn off the fan and the power supply to ensure safety.
- Switch off the ceiling fan and the light using the pull chain, remote, or wall control.
- Turn off the power at the circuit breaker to ensure that the fan and light are completely disconnected from the electrical supply.
- Once the power is off, inspect the light bulbs to see if they’re loose or damaged. If the bulb is loose, simply tighten it securely into the socket.
- If the bulb appears damaged, replace it with a new one. Ensure that the new bulb is compatible with your Hunter fan and light kit.
Pro Tip: Always check the wattage and bulb type to ensure compatibility with your fan. Use only bulbs recommended by Hunter for optimal performance.
Step 2: Tighten or Replace the Light Socket
Why: A loose socket connection can cause the light to flicker.
- If tightening the bulb didn’t solve the issue, the problem could be with the light socket.
- Turn off the power to the fan again, and then carefully inspect the light socket for any visible signs of wear or damage.
- If the socket appears loose, use a screwdriver to tighten any loose screws holding it in place.
- If tightening doesn’t help or if the socket is damaged, consider replacing it. You can find replacement parts through the Hunter website or other authorized retailers.
Step 3: Check the Fan’s Wiring Connections
Why: Flickering lights can sometimes be caused by wiring issues within the fan or light kit.
- With the power off, inspect the fan’s wiring connections to ensure that all wires are properly connected.
- Look for any frayed or damaged wires. If you find any damage, it’s important to repair or replace the wiring.
- If the wiring looks secure, check the connection between the fan’s motor and the light kit. Tighten any loose connections you find.
Pro Tip: If you’re not comfortable working with electrical components, it’s always best to hire a licensed electrician to inspect and repair the wiring.
Step 4: Replace the Bulb with a Compatible Type
Why: Certain bulbs, especially LEDs, may flicker if they aren’t compatible with the fan’s light kit.
- If you’re using LED bulbs, ensure they’re designed to work with ceiling fans. Some LEDs, especially non-dimmable ones, can cause flickering when used in a fan’s light kit.
- If you suspect the bulbs are the issue, try switching them to a different type. For instance, try using a traditional incandescent bulb or a dimmable LED that’s known to be compatible with your Hunter fan.
- Replace all bulbs in the light kit if one of them is causing the flicker.
Step 5: Check for Dimmer Switch Interference
Why: Dimmer switches are known to cause flickering in ceiling fan lights, particularly if they’re not designed to handle fan lights.
- If the fan’s light is controlled by a dimmer switch, try replacing it with a standard on/off switch.
- If you don’t want to replace the dimmer switch, make sure it’s compatible with ceiling fan lights. Some modern dimmer switches are designed specifically for use with ceiling fans and their LED lights.
Pro Tip: If you continue to have trouble with dimmer switches, consider switching to a wall control or remote that doesn’t use dimming features.
Brand-New Hunter Fan With LED and Remote Still Flickering
- Even new Hunter fans can flicker due to LED driver defects
- Hunter remotes regulate voltage digitally, which can cause LED flicker
- No dimmer is required for flickering to happen
- Solution:
- Power reset
- Re-seat light kit
- Test with another Hunter-approved LED
- Contact Hunter support for LED module or receiver replacement
Additional Troubleshooting Tips for Flickering Lights
- Ensure Stable Power Supply: If your home has voltage fluctuations, this can cause flickering lights in your ceiling fan. Consider installing a surge protector or having an electrician inspect the power supply.
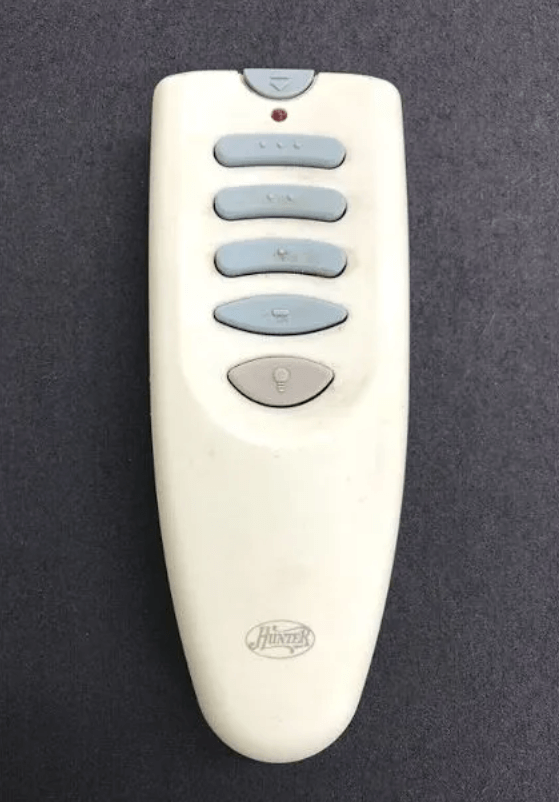
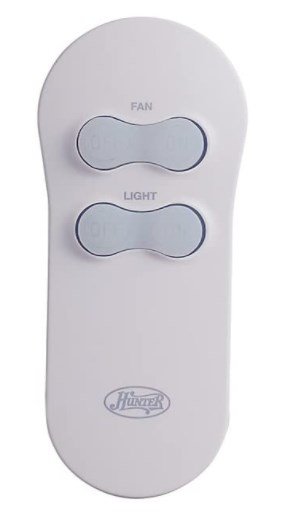
- Reset the Fan’s Remote Control: If your Hunter fan is operated by a remote control, resetting the remote may help resolve any communication issues that could be causing flickering lights.
Conclusion: Fixing Flickering Lights in Hunter Ceiling Fans
Flickering lights in your Hunter ceiling fan are usually caused by common issues that are relatively easy to fix. Whether it’s a loose bulb, incompatible bulbs, faulty wiring, or dimmer switch interference, you can troubleshoot and resolve the problem in just a few simple steps. If the issue persists after trying these fixes, it’s best to contact Hunter’s customer service or consult with a professional electrician to ensure the problem is properly addressed.
By following the steps above, you should be able to restore your Hunter ceiling fan to its quiet, efficient, and flicker-free state.