Learning how to remove Hunter ceiling fan blades with no screws can seem confusion in the beginning, especially when you’re used to traditional fasteners. While many older fans use visible screws to attach the blades, newer Hunter models often feature innovative, screw-free designs for easier installation and removal. These “quick-install” or “snap-on” systems can initially seem puzzling, but understanding how they work makes the process straightforward. This guide will walk you through identifying your Hunter fan’s blade attachment method and safely removing its blades, even without obvious screws.
Safety First: Preparing for Blade Removal
Before attempting any work on your ceiling fan, prioritizing safety is non-negotiable. Skipping these crucial steps can lead to serious injury or damage to your fan.
- Turn Off Power at the Breaker: This is the most critical step. Do not rely fully on the pull chain or wall switch. Locate the circuit breaker that controls your ceiling fan and switch it to the “off” position. Consider tagging it to prevent accidental re-engagement.
- Test for Power: After turning off the breaker, flip the wall switch or pull the fan chain to confirm the power is indeed off. The fan should not turn on.
- Use a Sturdy Ladder: Ensure your ladder is stable and placed on a level surface. Have someone spot you if possible, especially when working at height.
- Clear the Area Below: Remove any furniture or fragile items from directly beneath the fan to prevent damage if a blade is accidentally dropped.
Identifying Your Hunter Fan’s “No Screw” Blade Attachment Type
Hunter offers several innovative blade attachment systems that eliminate visible screws, making installation and removal quicker. Knowing which type you have is key to successful removal. Carefully examine how your fan blades connect to the motor housing.
- Keyhole Slot / Slide-On Blades:
- Appearance: The blade arm (the metal bracket that holds the blade) will have two or more keyhole-shaped slots where it meets the motor housing. You might see screws already inserted into the motor housing that the blade arm slides onto, then shifts to lock into place.
- Mechanism: The blade arm slides onto screws that are partially loosened or pre-installed, then a slight shift or turn locks it in place.
- Quick-Install / Snap-On Clips:
- Appearance: You won’t see any screws at the attachment point. Instead, the blade arm might have a plastic or metal tab that snaps directly into a slot on the motor housing.
- Mechanism: These blades often click directly into place. There might be a small tab or lever on the blade arm or motor housing that needs to be pressed or squeezed to release the blade.
- “Hidden” Screws:
- Appearance: Sometimes, screws are present but are concealed by a decorative cap or are located in a less obvious position on the blade arm or motor housing. This is less common for “no screw” marketing but worth a double-check if other methods don’t seem to apply.
- Mechanism: Requires removing a cover or looking from a different angle to locate the screw heads.
Once you’ve identified your blade attachment type, proceed to the corresponding removal instructions.
Method 1: Removing Keyhole Slot / Slide-On Blades
If your Hunter fan blades attach via keyhole slots, follow these steps to safely remove them:
- Support the Blade: With one hand, firmly support the fan blade you intend to remove. This prevents it from dropping once disengaged.
- Locate Mounting Screws: Look for the screws that the blade arm slides onto. These will be partially threaded into the motor housing.
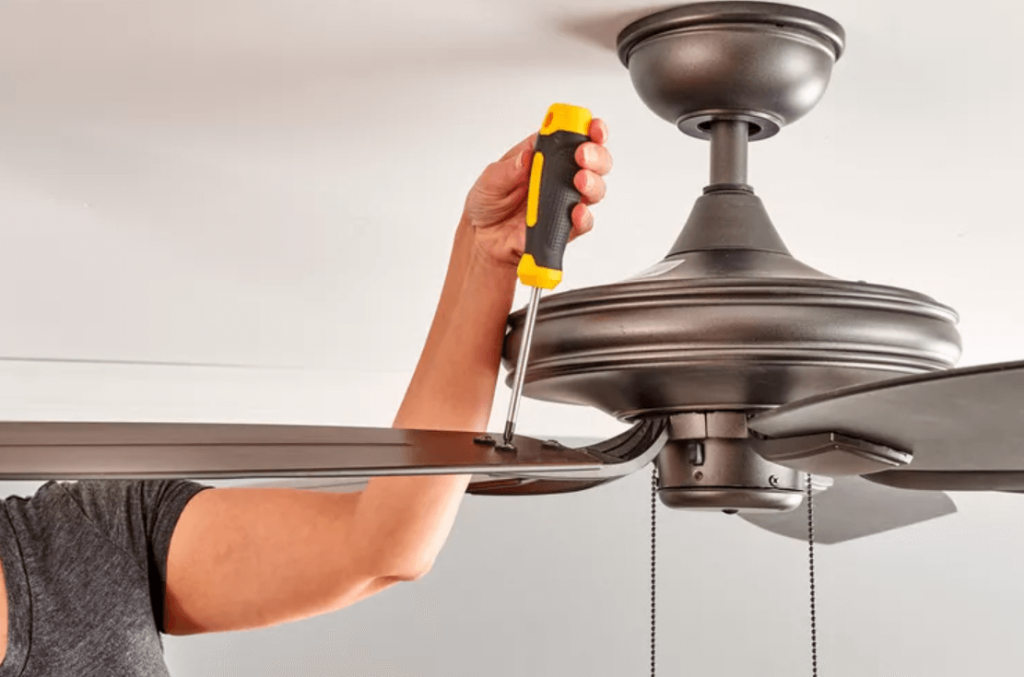
- Loosen, Don’t Remove: Using a Phillips head screwdriver, loosen these screws by a few turns. Do not remove them completely, as the keyhole slot needs the screw head to slide out.
- Slide and Lift: Once the screws are loose enough, gently slide the blade arm away from the motor housing until the wider part of the keyhole slot aligns with the screw heads.
- Detach Blade: With the screws aligned, carefully lift the blade arm straight off the screws.
- Repeat: Continue this process for each remaining blade.
Method 2: Removing Quick-Install / Snap-On Blades
For Hunter fans with quick-install or snap-on blade mechanisms, the removal process usually involves pressing a release tab or lever.
- Support the Blade: Just like with keyhole slots, firmly support the fan blade from underneath.
- Locate the Release Tab/Lever: Carefully examine the point where the blade arm connects to the motor housing. Look for a small, often discreet, plastic or metal tab, button, or lever. It might be on the top, bottom, or side of the blade arm, or recessed into the motor housing.
- Press/Squeeze and Detach: With one hand supporting the blade, use your other hand (or a small, flat-head screwdriver if needed) to gently press, squeeze, or push the release tab/lever.
- Slide/Pull Blade: While holding the tab/lever, gently slide the blade arm away from the motor housing or pull it straight down, depending on the specific design. The blade should disengage with minimal force.
- Repeat: Proceed to remove the remaining blades using the same method.
Tip: If you’re struggling to find the release mechanism, gently try wiggling the blade arm while looking for any part that flexes or seems to be a movable button. Referencing your fan’s original product manual can be available in Hunter ceiling fan manuals, which can also provide precise instructions for your specific model.
Reinstalling Your Hunter Fan Blades
Once you’ve completed your maintenance tasks, reinstalling the blades is typically the reverse of the removal process.
- Keyhole Slot Blades: Align the wider part of the keyhole slots on the blade arm with the screw heads on the motor housing. Slide the arm onto the screws, then shift it to lock into the narrower part of the slot. Tighten the screws securely, but do not overtighten.
- Quick-Install Blades: Align the blade arm with the corresponding slot on the motor housing. Push or slide it firmly until you hear an audible “click,” indicating it’s securely latched. Give it a gentle tug to ensure it’s locked in place.
Always ensure all blades are securely attached before restoring power to the fan.
Troubleshooting and When to Call a Professional
Even with these instructions, you might encounter some challenges. Here are a few common issues and when it’s best to seek professional help.
- Blades Seem Stuck: If a blade isn’t detaching easily, double-check that you’ve correctly identified the mechanism and are applying force in the right direction (slide vs. pull). Ensure no hidden screws or clips are missed. Avoid excessive force, as this can damage the blade arm or motor housing.
- Can’t Identify the Mechanism: Hunter has many models. If you’re truly unsure about your specific fan’s attachment method after careful inspection, consult your fan’s manual or look for the Hunter Ceiling Fan Model Number for diagrams or specific instructions.
- Damage Suspected: If you notice any bent blade arms, cracked plastic components, or feel resistance that suggests damage, do not force the removal. This could worsen the problem and potentially affect fan balance or safety.
If you’re unable to safely remove the blades or suspect underlying damage, it’s always best to contact a qualified electrician or a professional ceiling fan repair service. They have the expertise and tools to handle complex issues safely.
Keep Your Hunter Fan Running Smoothly
Removing Hunter ceiling fan blades without visible screws is a manageable task once you understand the specific mechanism your fan uses. By following these detailed steps and prioritizing safety, you can confidently maintain your fan for cleaning, replacement, or even a style refresh. This hands-on maintenance extends the life of your fan and ensures it continues to provide comfortable airflow and enhance your home’s aesthetic.
Leave a Reply