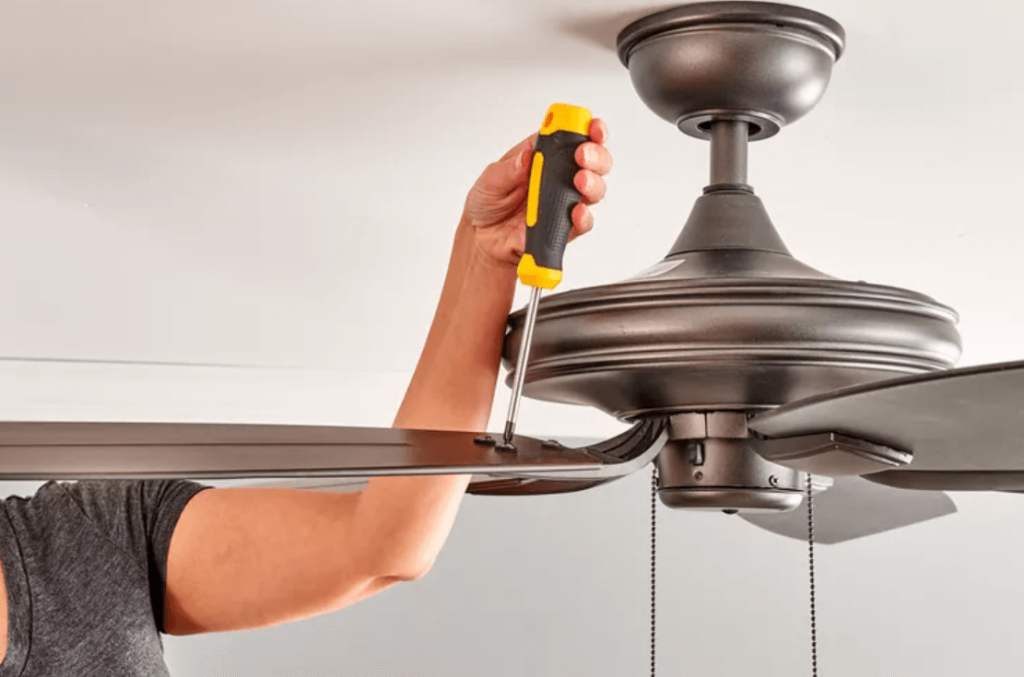
Removing a Hunter ceiling fan canopy is a necessary step for various maintenance tasks, including fan repairs, light kit installations, or upgrading internal components. The canopy is the covering that houses the motor and electrical components of the fan. Whether you need to replace a part, inspect wiring, or simply clean the fan, learning how to safely and effectively remove the Hunter ceiling fan canopy is essential.
In this guide, we’ll walk you through the step-by-step process for removing your Hunter ceiling fan canopy—with and without screws. This will help you tackle common fan repairs and ensure your fan is always in optimal condition.

Tools and Safety Gear You’ll Need
Before starting any work on your Hunter ceiling fan, make sure you have the following tools and safety gear:
Essential Tools:
- Screwdrivers (Phillips and flathead): To remove the screws from the fan canopy and motor housing.
- Pliers: For adjusting or holding wires, if necessary.
- Ladder: To safely access the ceiling fan.
- Plastic Pry Tool: For gently prying the canopy off the mounting bracket (especially useful when there are no screws).
Safety Gear:
- Safety Glasses: To protect your eyes from debris.
- Gloves: To protect your hands from sharp edges and improve grip.
Before you start working, turn off the power at the wall switch or circuit breaker to ensure safety while handling the fan.
How to Remove a Hunter Ceiling Fan Canopy with Screws
The Hunter ceiling fan canopy is usually secured with screws around the edge, making the removal process straightforward. Here’s how to do it step by step:
Step 1: Turn Off the Power
- The first and most important step is to turn off the power to your Hunter ceiling fan. Go to your wall switch or circuit breaker and cut the power to avoid electrical hazards.
Step 2: Remove Fan Blades and Light Kit (If Applicable)
- To make the process easier, remove the fan blades and light kit if your fan has one. This will reduce the fan’s weight and give you better access to the canopy.
- Simply unscrew the fan blades from the motor housing and disconnect the light kit by unscrewing the screws holding it in place.
Step 3: Unscrew the Canopy from the Ceiling
- Locate the screws securing the canopy to the ceiling mount. Typically, these screws are around the perimeter of the canopy.
- Using a Phillips screwdriver, carefully unscrew the fasteners. Once all screws are removed, gently pull the canopy away from the mounting bracket.
Step 4: Disconnect Wiring (If Necessary)
- If you need to access the fan’s wiring (for repairs or upgrades), disconnect the wiring by carefully loosening the wire nuts. Keep a note of where each wire goes so you can reconnect it later.
- It’s a good idea to take a picture of the wiring connections for reference.
Step 5: Remove the Canopy
- Once the screws are removed and the wiring is disconnected, gently lower the canopy. Be careful not to damage any wires or the fan motor.
How to Remove a Hunter Ceiling Fan Canopy Without Screws
In some cases, you might encounter a Hunter ceiling fan canopy that’s not secured with screws. This can happen with some models that use a clip-based design or locking mechanism. Here’s how you can remove the canopy without screws:
Step 1: Turn Off the Power
- Ensure that the power is completely turned off before you begin any work. Switch off the wall switch or circuit breaker.
Step 2: Inspect for Alternative Mounting Mechanisms
- Check to see if the canopy is held in place by a locking mechanism or clips. These clips can be found along the edges of the canopy, keeping it securely attached to the ceiling bracket.
Step 3: Use a Plastic Pry Tool
- Take a plastic pry tool (or a small flathead screwdriver) and gently slide it between the canopy and the mounting bracket. Pry carefully around the perimeter of the canopy, working to loosen the clips or locking mechanism.
- Be gentle to avoid damaging the canopy or mounting hardware.
Step 4: Slide the Canopy Off
- Once the canopy is loosened, carefully slide it off the mounting bracket. You might need to wiggle it slightly to ensure it detaches without force.
Step 5: Inspect the Wiring
- If you plan on replacing components or inspecting wiring, make sure the wires are safely disconnected before proceeding. Keep track of the wiring connections so they can be reconnected properly.
4. Troubleshooting Common Issues When Removing the Canopy
While removing the Hunter ceiling fan canopy, you may encounter a few issues. Here are some common problems and how to fix them:
1. Stuck or Jammed Canopy
- Solution: If the canopy is stuck, check for any hidden screws or clips that may be holding it in place. Use a plastic pry tool gently to loosen the canopy from the ceiling bracket.
2. Broken or Stripped Screws
- Solution: If the screws securing the canopy are broken or stripped, use a screw extractor tool to remove them, or try using pliers to unscrew the remaining part of the screw.
3. Canopy Not Coming Off After Removing Screws
- Solution: If the canopy is still stuck after unscrewing, check for hidden locking mechanisms or clips that could be preventing the canopy from detaching. Apply gentle pressure using a pry tool.
Conclusion
Removing your Hunter ceiling fan canopy is a straightforward process that allows you to perform maintenance, repair, or replacement tasks. Whether you need to remove it with screws or without, the process can be easily accomplished with the right tools and safety precautions.
By following this step-by-step guide, you’ll ensure that your Hunter ceiling fan continues to run smoothly and efficiently. If you encounter any problems or need replacement parts, be sure to visit our Hunter Ceiling Fan Replacement Parts Guide for more information.
Leave a Reply